Table of Contents
- Step 1: Review Your Denial Letter and Policy Provisions
- Understanding Common Reasons for Roof Insurance Denial
- Step 2: Gather Documentation and Proof of Loss
- Step 3: Request an Independent Inspection and Damage Assessment
- Step 4: Understand the Appraisal Clause and Invoke It If Necessary
- Step 5: File a Formal Appeal with Your Insurance Carrier
- How to Hire a Public Adjuster for Roof Damage
- Know Your Rights: Bad Faith Insurance Practices and Statute of Limitations
- Frequently Asked Questions
Last Updated: September 23, 2026
Step 1: Review Your Denial Letter and Policy Provisions
Start by reading your denial letter carefully to understand why the carrier chose to overturn denied roof claim decisions or uphold them. Insurance carriers must explain why they denied your claim. They’ll cite specific policy language or reasons.
Common denial reasons include:
- Wear and tear (normal aging of materials)
- Lack of coverage for the damage type
- Policy exclusions or limits
- Failure to report the claim within the required timeframe
- Insufficient documentation
Next, pull out your actual insurance policy. Find the section covering roof damage. Look for:
- What types of damage ARE covered
- What damage is specifically excluded
- Coverage limits and deductibles
- The timeframe you have to file a claim
Compare what your policy actually says to what the insurance carrier claimed in their denial letter. Many denials rest on misinterpretations of policy language. This is where discrepancies often emerge.
Read the denial letter word-for-word. Insurance carriers sometimes deny claims using vague language like “maintenance issue” when they mean wear and tear. Get specific. Ask your carrier to clarify exactly which policy section they’re citing.
Understanding Common Reasons for Roof Insurance Denial
Insurance companies deny roof claims for predictable reasons. Understanding these helps you build a stronger appeal.
Wear and tear denials are the most common. Carriers argue that roof damage results from age and normal weathering, not a covered event. A 15-year-old roof with missing shingles might be denied as “maintenance,” even if a storm caused the damage.
Weather exclusions also appear frequently. Some policies exclude certain storm types or hail damage depending on your location. Read your policy exclusions carefully.
Insufficient proof is another major reason. If you didn’t document the damage immediately or your photos are unclear, the carrier may claim the damage wasn’t storm-related.
Timing issues matter too. Many policies require you to file a claim within a specific window, often 30 to 90 days after the damage occurs. Missing this deadline gives carriers grounds to deny.
Coverage limit problems happen when the damage exceeds your policy’s maximum payout. The carrier might deny the full claim if they believe repair costs exceed your limit.
At Barclays Public Adjusters, we understand how carriers use these reasons to justify underpayment or outright denial. The good news: most denials can be challenged if you have the right documentation and approach.
Step 2: Gather Documentation and Proof of Loss
Documentation is your strongest tool when challenging a denial. Without it, your appeal has no foundation.
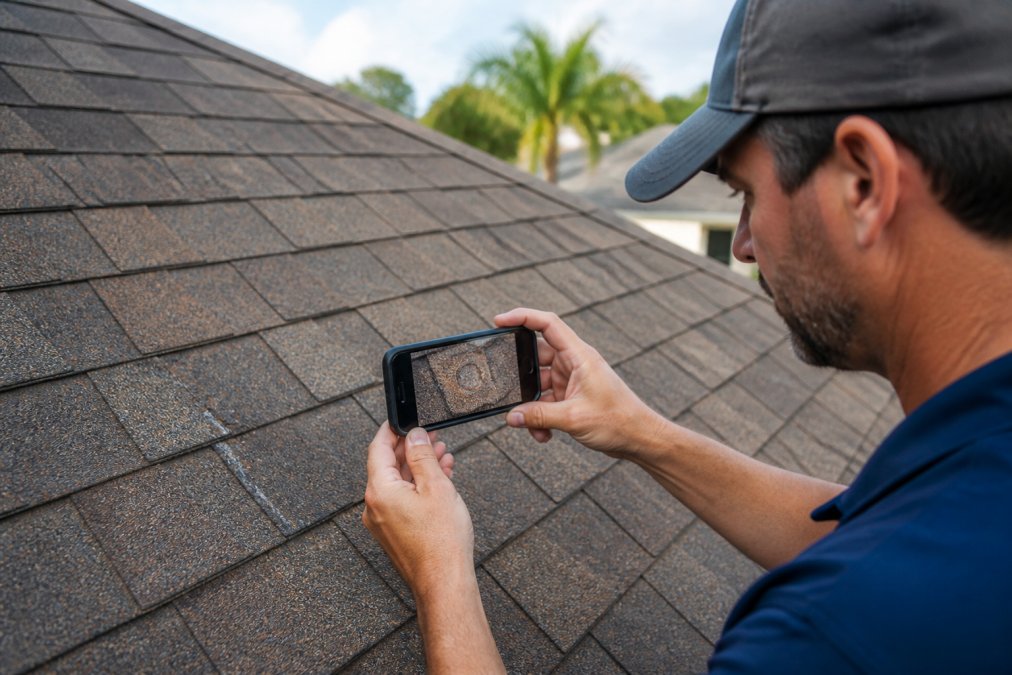
Start by photographing the damage yourself. Take clear photos from multiple angles. Capture:
- Wide shots showing the overall damage
- Close-ups of specific damage (missing shingles, dents, cracks)
- The surrounding area for context
- Any water damage inside the home if visible
Collect all weather records from the day of damage. National Weather Service reports, local news coverage, and weather apps all provide evidence that a storm occurred. Save these documents.
Gather repair estimates from licensed contractors. Get at least two independent estimates. Include:
- Itemized breakdown of repairs needed
- Cost per repair item
- Contractor license and insurance information
- Date of the estimate
Create a written timeline showing:
- When you first noticed the damage
- When you filed the claim
- When you received the denial
- Any communications with the insurance carrier
Keep copies of every document you send to your insurance company. Maintain a file with all correspondence, photos, estimates, and weather data. Organize this chronologically.
Your documentation file becomes your proof. Without photos, estimates, and weather records, the insurance carrier controls the narrative. With them, you have use.
Step 3: Request an Independent Inspection and Damage Assessment
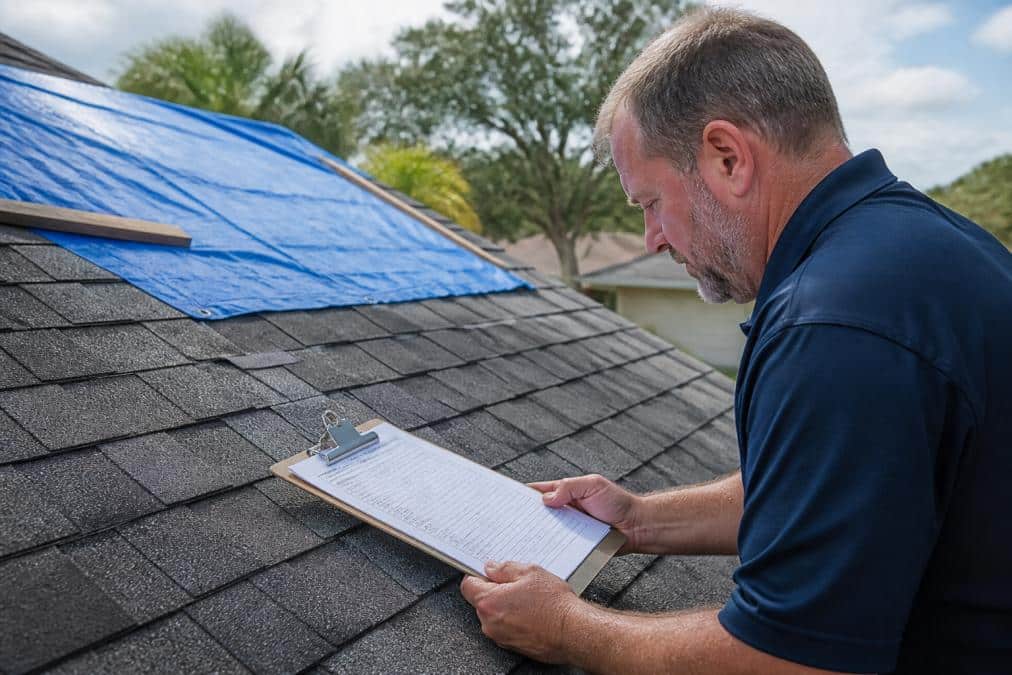
An independent inspection from a qualified professional strengthens your appeal significantly. This inspection contradicts the carrier’s assessment and provides third-party validation.
Hire a licensed independent inspector or engineer to evaluate the roof. Make sure they have:
- Current state licensure
- Experience with roof damage assessment
- Insurance claim experience
- Professional liability insurance
The inspector will document damage in detail and provide a written report. This report becomes evidence in your appeal. It carries weight because it comes from someone with no financial stake in the outcome (unlike your contractor, who wants the repair job).
Request that the inspector specifically address the carrier’s denial reasons.
Do not skip the independent inspection. Carriers expect it. Without it, they’ll assume your denial is final. With it, you’ve created doubt about their initial assessment.
Step 4: Understand the Appraisal Clause and Invoke It If Necessary
You and your carrier each select an appraiser. Those two appraisers select a third appraiser (called an umpire). The three appraisers review the damage and determine the actual repair cost. Their decision is binding on both parties.
The appraisal clause is your nuclear option. Carriers know appraisers often award more than the initial denial. Many will reconsider before appraisal starts. Use this use strategically.
Step 5: File a Formal Appeal with Your Insurance Carrier
A formal appeal is your official challenge to the denial. It differs from a casual complaint. It’s a documented, structured request for reconsideration.
Start with a professional appeal letter. This letter should:
Schedule your FREE Claim Consultation today →
- Reference your policy number and claim number
- State the date of the denial
- Clearly explain why the denial was wrong
- Include references to policy language that supports your position
- Attach all supporting documentation (photos, estimates, inspection reports, weather data)
- Request a specific outcome (claim approval and payment)
Writing Your Insurance Claim Denial Appeal Letter Template
Use this structure for your appeal letter:
[Your Name]
[Your Address]
[Date]
[Insurance Carrier Name]
Claims Department
[Carrier Address]
Dear [Claims Manager Name]:
I am writing to formally appeal the denial of my roof damage claim dated [denial date]. I believe this denial was issued in error and does not reflect the terms of my policy or the facts of my case.
Supporting Evidence:
I am enclosing the following documentation:
- Independent inspection report from [Inspector Name, License #]
- Contractor estimates totaling [amount]
- Weather Service records confirming the storm on [date]
- Photographs of damage taken on [date]
- Policy language from Section [number] covering this damage type
Requested Resolution:
I request that you:
- Reverse the denial and approve my claim
- Issue payment for repairs in the amount of [amount based on estimates]
- Provide a written explanation of your reconsideration
Sincerely,
How to Hire a Public Adjuster for Roof Damage
A public adjuster advocates for you with the insurance carrier. They handle the entire claims process, from documentation to negotiation to settlement.
-
Verify licensure. Check your state’s insurance department website. Confirm the adjuster holds a current public adjuster license. Unlicensed adjusters are illegal.
-
Review experience. Ask about their experience with roof claims specifically. Ask for references from past clients.
-
Understand the contract. Read the fee agreement carefully. Confirm the percentage they’ll take and what services are included.
-
Check for conflicts. Ensure they don’t represent the insurance carrier (that would be a conflict of interest).
-
Get everything in writing. Never work with a verbal agreement. The contract must specify fees, scope of work, and timeline.
Public Adjuster vs. Independent Adjuster
These two roles are different, and the distinction matters.
A public adjuster represents you, the policyholder. They work for your interests and are paid from your settlement. They fight the insurance carrier to maximize your payout.
Know Your Rights: Bad Faith Insurance Practices and Statute of Limitations
Insurance carriers have legal obligations. When they violate these obligations, it’s called bad faith. Understanding bad faith gives you legal use.
Bad faith occurs when a carrier:
- Denies a claim without a reasonable basis
- Fails to investigate your claim properly
- Ignores policy language that covers your damage
- Delays payment unreasonably
- Misrepresents policy terms to justify denial
Documentation of bad faith includes:
- Denial letters with vague or contradictory reasons
- Failure to respond to your appeals
- Refusal to consider evidence you provided
- Statements that contradict the policy language
Frequently Asked Questions
Can I actually overturn a roof claim that was already denied for wear and tear?
Yes, many denied roof claims can be overturned if you can demonstrate the damage resulted from a covered peril (like storm or hail) rather than normal wear. Review your denial letter carefully to understand the specific reason. If the insurance carrier’s assessment was incomplete or incorrect, an independent inspection and formal appeal, or invoking the appraisal clause, can challenge their determination. A public adjuster can evaluate whether the denial was justified based on your policy provisions and the actual damage evidence.
What should I include in an insurance claim denial appeal letter template?
Your appeal letter should include: your policy number, the original claim date, a clear statement disagreeing with the denial, specific references to policy provisions that support coverage, documentation of the damage (photos, inspection reports), and a detailed explanation of why the denial was incorrect. Cite any independent adjuster reports or expert assessments that contradict the insurance carrier’s findings. Keep the tone professional and factual, not emotional. Request a specific resolution, either claim approval or binding arbitration through the appraisal clause.
How long does the process to overturn a denied roof claim typically take?
The timeline varies depending on complexity and your insurance carrier’s responsiveness. A formal appeal typically takes 30-60 days for initial review. If you invoke the appraisal clause, the process may take 60-90 days. Litigation or binding arbitration can extend the timeline to several months. Mitigation of damages is important, don’t delay necessary repairs while the appeal is pending, as your policy may require you to prevent further damage. A public adjuster can often accelerate the process through direct negotiation.
What’s the difference between a public adjuster and an independent adjuster for roof damage?
An independent adjuster works for the insurance company to assess damage on their behalf, so their interests align with the carrier’s, not yours. A public adjuster represents you as the policyholder and works to maximize your settlement. Public adjusters are licensed professionals who handle documentation, negotiation, and appeals on your behalf. They work on a contingency basis, typically no recovery, no fee, so they’re financially motivated to secure the best outcome for you, not to settle quickly with the insurance carrier.